Many people find weekends ideal for making their living spaces more comfortable and inviting. By setting aside a few hours to work on do-it-yourself projects, you can experience a unique sense of achievement and tap into your creative side. Whether you want to organize a cluttered corner, add a fresh touch to a familiar room, or simply try something new, getting involved with hands-on tasks brings both enjoyment and purpose. This guide offers practical inspiration, outlines the tools and materials to gather, and shows how dedicating time to your home projects can lead to greater satisfaction and relaxation.
Unusual Ideas for Hands-On Fun
Instead of rehashing the same old shelf or planter designs, try a textile-infused approach: use leftover fabric scraps to weave custom drawer liners for kitchen utensils. Or imagine repurposing glass bottles as hanging terrariums with tiny succulents. Experiment with geometric weather vanes made from repainted cookie cutters. These twists on familiar motifs unlock a playful side to crafting.
Channel your weekend energy into exploring color and form by mapping out a tiny street sign that highlights a favorite quote or inside joke. You’ll redefine the ordinary by adding personal flair to common materials. Each idea turns the routine upside down, transforming simple tools into vehicles for fresh expression.
Plans for Your Next Home Project
Modular Pegboard Organizer
- Purpose: Create a wall-mounted system for tools or kitchen utensils.
- Steps:
- Measure and cut the board to fit your wall section.
- Stain the surface and let it cure overnight.
- Install anchors and hang the board.
- Attach hooks in custom patterns for easy access.
- Cost: Under $50 if using recycled wood from local reuse centers.
- Insider Tip: Place hooks at eye level for quick retrieval and group similar items for a tidy look.
Magnetic Knife Strip Upgrade
- Purpose: Free up counter space with a magnetic storage solution.
- Steps:
- Choose a magnetic bar rated for heavy steel blades.
- Clean the mounting area and position the strip evenly.
- Mount using drywall anchors and screws through predrilled holes.
- Attach knives gradually, testing the magnetic pull each time.
- Cost: $20–$30 at hardware stores.
- Insider Tip: Hide the strip behind a pull-down cabinet door for a sleek, minimalist kitchen look.
Hanging Cord Storage System
- Purpose: Keep extension cords and air hoses organized and accessible.
- Steps:
- Use a stud finder to locate ceiling joists and mark positions.
- Drill pilot holes and insert eye bolts.
- Clip a decorative chain through the eye bolts and adjust for sag.
- Hang cords using S-hooks at even intervals.
- Cost: Under $15 at discount outlets.
- Insider Tip: Label each hook with cord length or tool name using colored tape for quick identification.
Pegged Garden Tool Board
- Purpose: Store garden tools in a customized layout.
- Steps:
- Use unmilled plywood and sand edges for safety.
- Mount with heavy-duty screws into studs.
- Cut wooden dowels to various lengths and spray-paint them bright colors.
- Assign colors for shovel, rake, and trowel sections.
- Cost: Around $25 in raw materials.
- Insider Tip: Install a small hanging basket underneath for seed packets, gloves, and labels.
Corner Floating Laptop Shelf
- Purpose: Add workspace in compact areas.
- Steps:
- Find a scrap block of hardwood and two concealed shelf brackets (20 lb capacity).
- Mark bracket positions in a study nook and screw them in.
- Slide the shelf onto brackets and secure.
- Choose a 12×10-inch piece to fit most laptops.
- Cost: About $35 including screws and finish.
- Insider Tip: Drill a notch in the back edge to hide charging cables neatly.
Tricks to Maximize Satisfaction
Prepare each step with efficiency in mind by gathering all materials before you start. Organize tools on a rolling cart so you can move smoothly from one task to another without delays caused by missing screws or sandpaper. This preparation turns a sporadic afternoon into a focused, workshop-like experience.
Take a snapshot of your progress at each important stage using your smartphone. Reviewing these images in real time helps you spot issues with alignment, color mismatches, or stability early. You’ll reduce frustration later and keep that sense of forward momentum that makes DIY work addictive in the best way.
Embedded Inspirations and Hyperlinks
If gardening enthusiasts want bold technique swaps, try innovative vertical gardens with hydroponic inserts—this method breathes new life into patio walls.
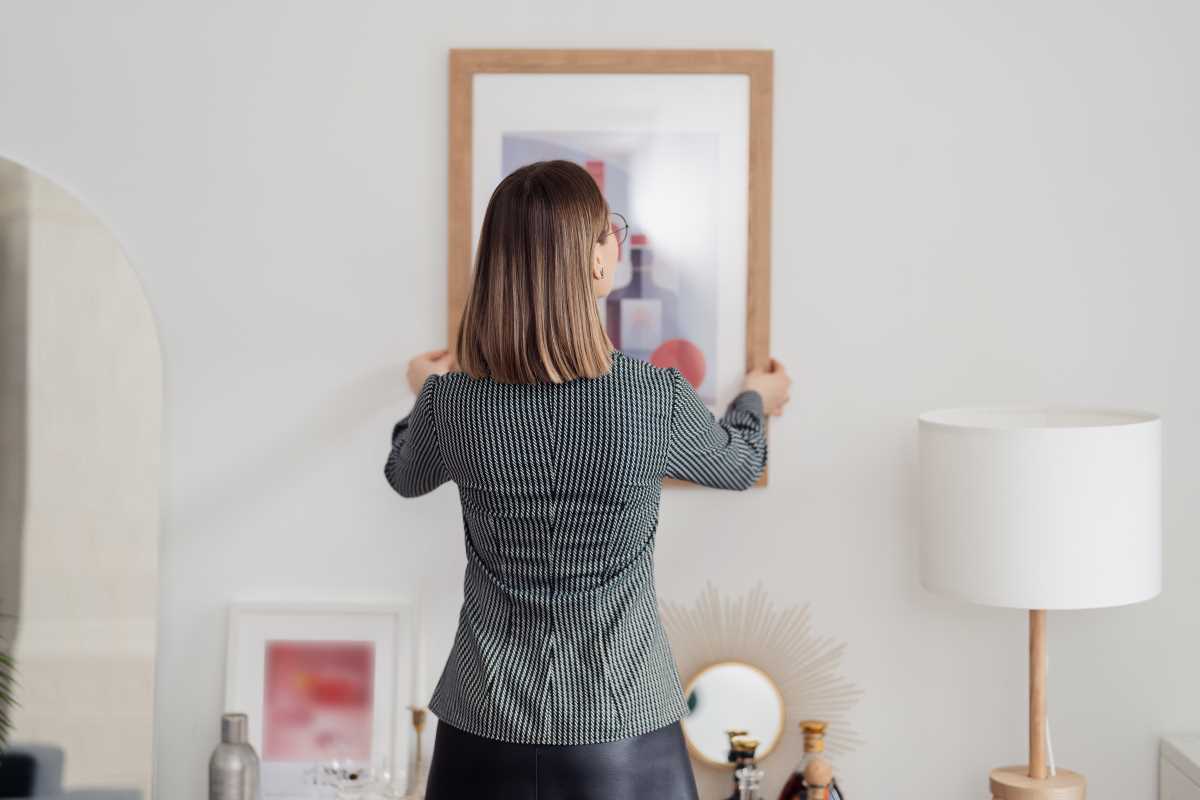
If you have ever stared at blank walls, consider using simple trim molding and nail-on picture rails to create an art gallery vibe.
Spend a weekend making something tangible and experience the satisfaction of each step. Every cut, brushstroke, or placed peg becomes a moment of pride.