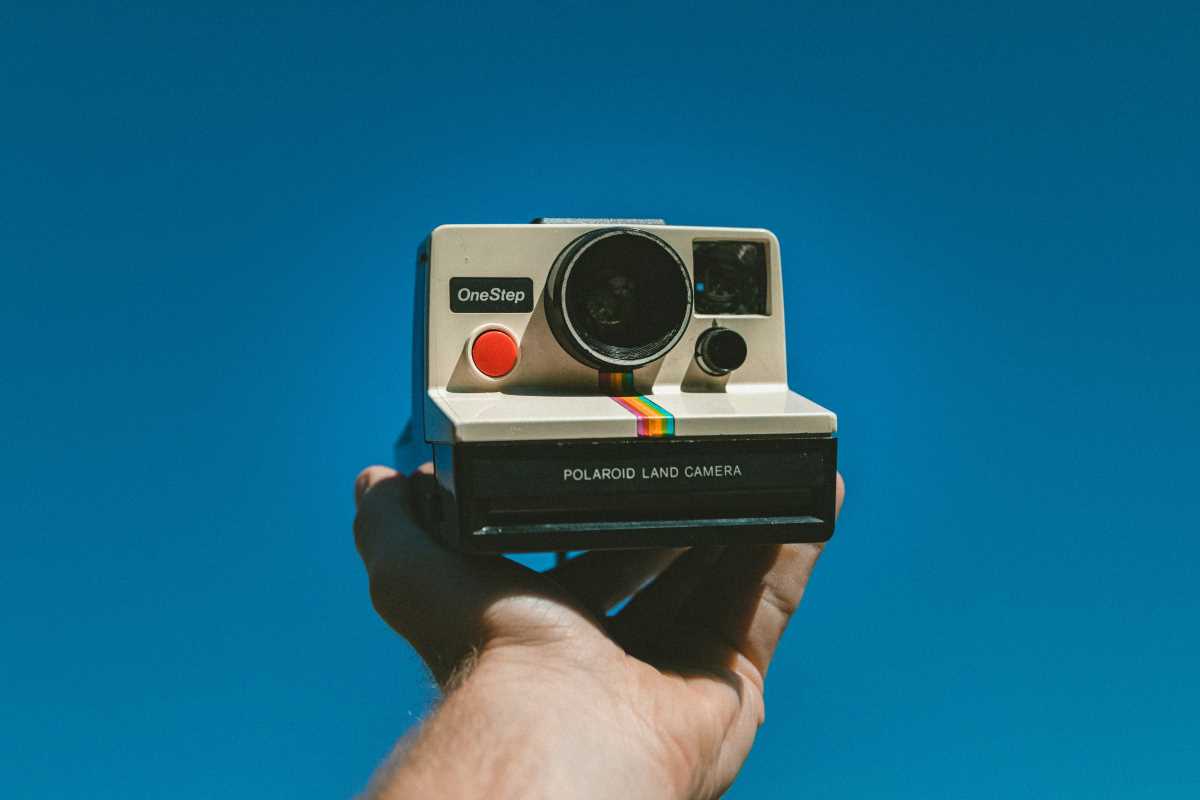
Travel photography invites us to see the world with fresh eyes, connecting deeply with new places and the people who call them home. Each photo has the power to bring out the character of a bustling market or highlight the quiet charm of a tucked-away street. When we pay attention to detail and seek out unique angles, everyday scenes can become lasting memories. Exploring personal style behind the lens helps turn familiar sights into images that recall the adventure and emotion of travel, allowing every snapshot to tell a story that lingers well beyond the journey itself.
Every shot carries emotion: the arc of sunrise light, the depth in a weathered face, the anticipation in a crowded station. Viewfinders become gateways to narrative, allowing enthusiasts to share cultural glimpses without words. This guide dives into techniques and gear choices that help photographers of all levels refine their vision and leave an unforgettable visual legacy.
Frame Your Vision with Storytelling
Seeing storytelling as a way to place subjects within context helps. Instead of isolating a monument against sky, include passersby sharing reactions or frame local architecture from unexpected angles. This interaction invites viewers to sense the atmosphere, almost as if they stroll through the scene themselves.
Likewise, focusing on details—like peeling paint on a doorway or patterns in a handmade textile—illuminates traditions and local character. Shifting your gaze from grand vistas to intimate close-ups uncovers layers of meaning, turning each photograph into a short story rather than a mere record.
- Observe human interaction in settings: Track gestures, fleeting glances and candid posture. Compose three versions—wide shot for context, medium for engagement, close-up for emotion. Use a 50mm lens at f/2.8 for shallow depth.
- Insider tip: Engage briefly with subjects, then step back to capture relaxed moments.
- Use natural lines to guide attention: Find converging roads, fence rails or patterned tiles. Align them to lead the eye through the frame in three steps—find, align, shoot. No extra cost beyond the existing scene.
- Insider tip: Angle the camera slightly to break symmetry for a dynamic feel.
- Change perspective for fresh angles: Kneel or climb, pivot the camera downward or upward. Follow three steps—identify vantage, adjust height, test bracketed exposures. Works with any zoom lens.
- Insider tip: Carry a foldable step stool to access small variations without strain.
Different Approaches to Composition
Adding variety enhances a portfolio. Introduce motion blur to show energy in street dance shows or moving traffic by selecting a 1/15-second shutter speed, panning along the subject in three guided motions. This controlled blur emphasizes motion while keeping focus on key details.
Negative space gives breathing room around a subject, emphasizing its importance. Compose shots with at least 60% empty background—sky, sand or plain walls—to make the main element stand out. No added cost, just frame carefully. Insider tip: Use a tiltable LCD to confirm proportions before locking focus.
Including a reference to techniques can deepen understanding.
Key Equipment and When to Use It
Camera Stabilization System
- Purpose: Reduce shake for handheld scenes.
- Steps:
- Attach quick-release plate to camera base.
- Slide into mount and tighten safety lever.
- Test lock and begin shooting.
- Cost: $100–$300 (budget options).
- Insider Tip: Adjust counterweights toward the lens for smoother pans at sunset markets.
Wide-Angle Lens
- Purpose: Capture a broader field of view, ideal for architecture and surroundings.
- Usage:
- Mount lens and switch to manual focus.
- Set aperture to f/8 for depth.
- Recompose using grid overlay.
- Shoot in RAW format.
- Cost: $250–$800.
- Insider Tip: Pre-focus at the hyperfocal distance and keep manual focus to maintain scene-wide clarity.
Portable LED Light Panel
- Purpose: Provide fill light in low-light street scenes.
- Steps:
- Power on and attach diffuser.
- Adjust brightness dial.
- Position at 45° to subject.
- Trigger shot.
- Cost: $50–$150 with rechargeable battery.
- Insider Tip: Use ~30% brightness for a subtle glow that keeps ambient colors intact.
Neutral Density (ND) Filter
- Purpose: Reduce light in bright conditions for slow shutter effects.
- Steps:
- Screw filter onto lens thread.
- Set camera to shutter priority at 1/4 sec.
- Bracket exposures and review histogram.
- Cost: $20–$100.
- Insider Tip: Carry ND8 and ND16 filters for flexibility between midday and afternoon light.
Compact Tripod
- Purpose: Stabilize camera for long exposures or self-portraits.
- Usage:
- Unfold legs and adjust center column height.
- Level head using bubble indicator.
- Mount camera and tighten knobs.
- Compose and shoot.
- Cost: $20–$70 (entry-level).
- Insider Tip: Extend smaller leg sections first for better rigidity on uneven terrain.
Intentional framing, equipment, and creative techniques transform snapshots into vivid stories. Adding cultural context and mastering light and motion ensures each journey leaves lasting impressions.
 (Image via


